Our beer tasting went very well–we served over 20 beers, including several home brews. To keep everything as personable as possible, I made and served homemade crackers! They were a hit, so I thought I’d share them with you. Well, of course you can’t taste them, but here’s the next best thing–the recipe! I’m not sure where the recipe originated, but I received it from a friend of mine in Chattanooga.
Cracker Bread
5 1/2 to 6 cups all-purpose flour
1 package dry yeast
1 tbsp. sugar
1 1/2 tsp. salt
2 cups warm water
1/3 cup softened butter
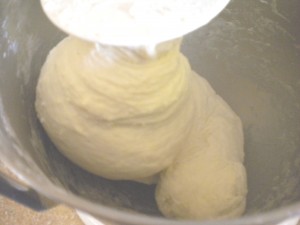
Combine yeast, sugar, salt, and 4 cups of the flour in your stand mixer bowl (if you have a mixer with a dough hook). Add the water and butter. Mix, adding the additional flour until you have a dough that does not stick to the sides of the bowl. Continue working for two to three minutes. See picture below.
Remove the dough from the bowl. clean the bowl, grease the sides, return the dough to the bowl,cover with a towel, and place away from drafts. Let rise for about 1 1/2 hours–until it doubles in size.
Punch down the dough, let it rest for 10 minutes, and then divide the dough into 10 uniform balls. If you have a pasta attachment for your mixer, this next part is easy and fun. If you don’t it just takes a bit more elbow grease. You’re going to roll out the dough into thin sheets. If you have a pasta maker, start at 0 and continue feeding your dough through until you have worked down to 5. If you’re doing it by hand, continue rolling until you have your dough about 1/8 of an inch thick. (thinner, if you can manage it). Needless to say, the thinner your dough, the crispier the cracker is going to be.
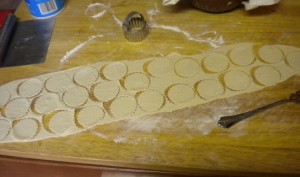
Now you get to decide what shape your crackers are going to be. You can be all natural, and bake your crackers in long sheets, breaking them up when they cool. But I like to use a cutter, to make the uniform and a little more formal. Below is a picture of the cutting process. I used a 2″ cutter–your crackers are going to shrink a little as you transfer them to your baking sheet, and these made for a nice, bite-sized cracker.
Now transfer them to your baking sheet. You’re going to want to line your baking sheet with either baker’s parchment or a silpat (you know, those silicon baking sheets). You can bake the crackers pretty close together, as they really are not going to spread. Prick them with a fork a few times so that they don’t develop bubbles as they bake, and dust them with salt if desired, patting down slightly to make the salt stick. Bake at 350 degrees, for about 17- 20 minutes, depending on the shape and size of the crackers. Keep watch during the last few minutes, as they will turn from almost done to really too brown very fast! You want them just slightly tanned on top. When they’re done, transfer them to a wire rack to cool and dry completely.
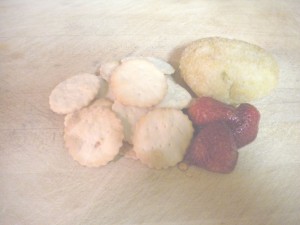
I know this seems like a lot of work for “just a cracker”, but here’s where you can get original. For my crackers, I added 1 cup of Parmesan cheese, and slightly reduced the amount of flour. I then used freshly ground sea salt to top them with! You can use any herb combination. You can even substitute other liquid ingredients for the water, including tomato juice or V-8, wine, beet juice (why not?). Think garlic and white finely grated cheddar. If you use a cheese like cheddar, you want to watch the baking process closely, to keep your crackers from burning. Use creative cookie cutters for festive holiday crackers. Just be sure that you don’t use cutters with lots of projecting bits, as these might tend to turn to brown during baking. Anyway, here’s the finished product!
Have fun, go crazy, impress your friends. Life’s too short to drink cheap beer or cheap wine, eat storebought crackers, or never pick up a good book.
Let me leave you with this quote my sister found.
“Whoever drinks beer, he is quick to sleep. Whoever sleeps long, does not sin. Whoever does not sin, enters Heaven. Therefore, let us drink beer!”
Martin Luther
See you next time!

