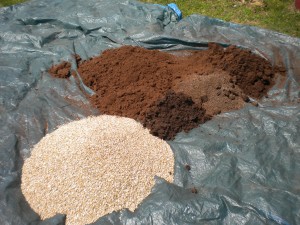
OK–so you’ve gotten the box built, it’s in place, and you’ve gotten landscaping fabric down. What next? Oh, yeah, dirt! But not just any dirt, and actually, not really dirt at all. We used what is called “Mel’s Mix” Here’s where things can get a bit pricey, but it’s a great investment in a great garden. You use a mixture of 1/3 vermiculite (this is a mineral which expands with the application of heat to become very porous. You see this a lot in professionally potted plants as a white, granular substance. You will need to go to a good farm and garden supply store to get this in any quantity. Your regular big box store will probably not carry it. What vermiculite does is hold water and keep the soil loose and aerated.), 1/3 peat moss, and 1/3 compost. Mel Bartholemew (see my previous post on square foot gardening) recomends trying for a blend of 5 different composts, because each will bring diffeent nutrients to the table. Some are more expensive than others. Black Kow and Black Hen are by far the most expensive, but oh, so rich in nitrogen. You can also get mushroom compost, forest compost, composted peat, and a host of others. You can also get horse manure from a local stable, but that’s smelly work and will need to be composted for several weeks before it’s usable. In a future post, we will discuss starting your own compost.
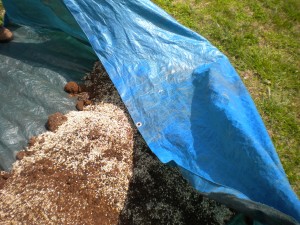
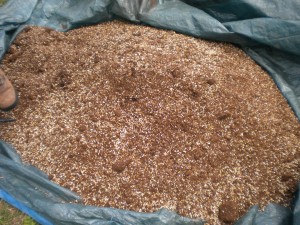
Then switch to the next two corners, dragging in a new direction. Then switch to the next two corners, dragging in a new direction. Then switch to the next two corners, dragging in a new—well, you get the idea. When you finish, your mix should looks something like this:
Now just drag the tarp over to the edge of your box and shovel it in, breaking up any big clods with your hands. The result will be the picture I put in my last post. Remember, never lean on or step in the square. You want your soil to remain light and aerated.
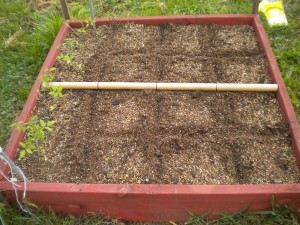
Some proponents of SFG want you to create a grid using wooden laths fastened down in a permanent structure. I think that’s silly and time and resource wasteful. I just use a stick marked off in 1 foot increments, and use a trowel or even my hand to groove the soil into a 1’x1′ grid, as per the picture below. You dont need to do this until the time you begin your planting.
You can see that I’ve already planted some tomato plants, so I’m getting a bit ahead of myself here, but next post we will discuss how many plants, sets, or seeds to plant in each square. We’re ready to grow! See you next time.
BTW, thank you all for your comments and feedback!


